
Photo by Dan Cristian Pădureț on Unsplash
Let's be real here: FilamentPHP has great styling out of the box, using tailwindcss and a coherent set of components. While beauty may be subjective, it's a clear and inoffensive style anyone can appreciate.
But let me ask you this: How do you react when you see a basic web app that uses bootstrap's default styling? For me, I'm always turned off by it and while it doesn't affect the app's functionality, it does give me a slightly worse impression.
So, let's update the styling of our basic Filament app! I'll start with some easy stuff and I'll stray further away from the default the further we move along. Read until the end to see me override the default components and bend them to my will, superhuman-style!
Here's a before and after of the app:
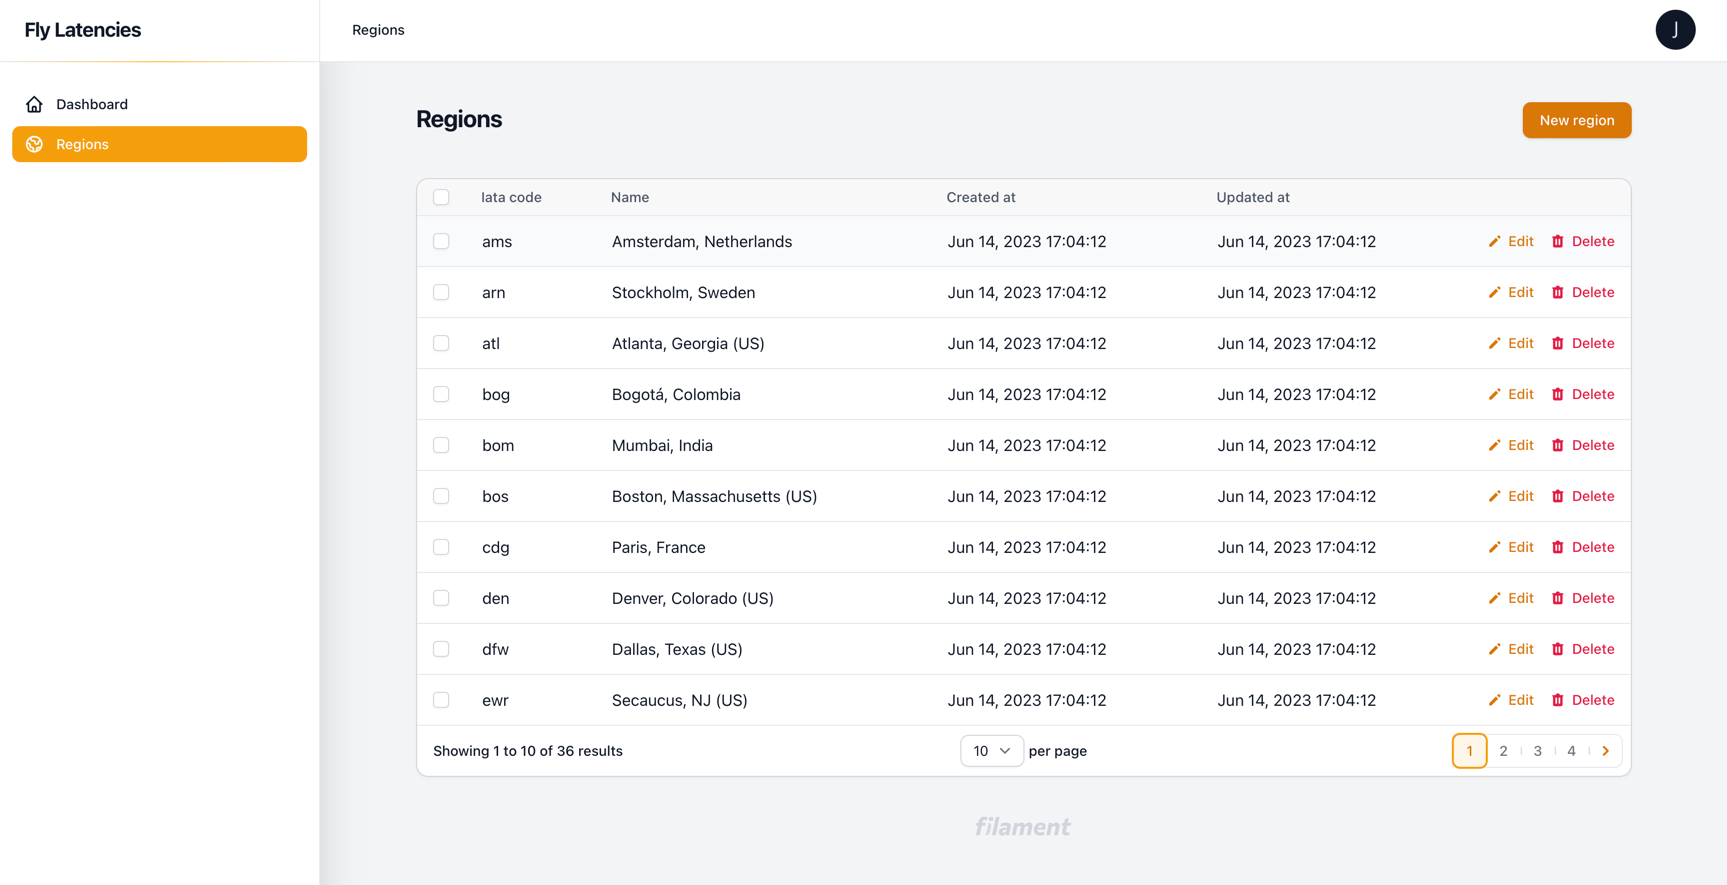
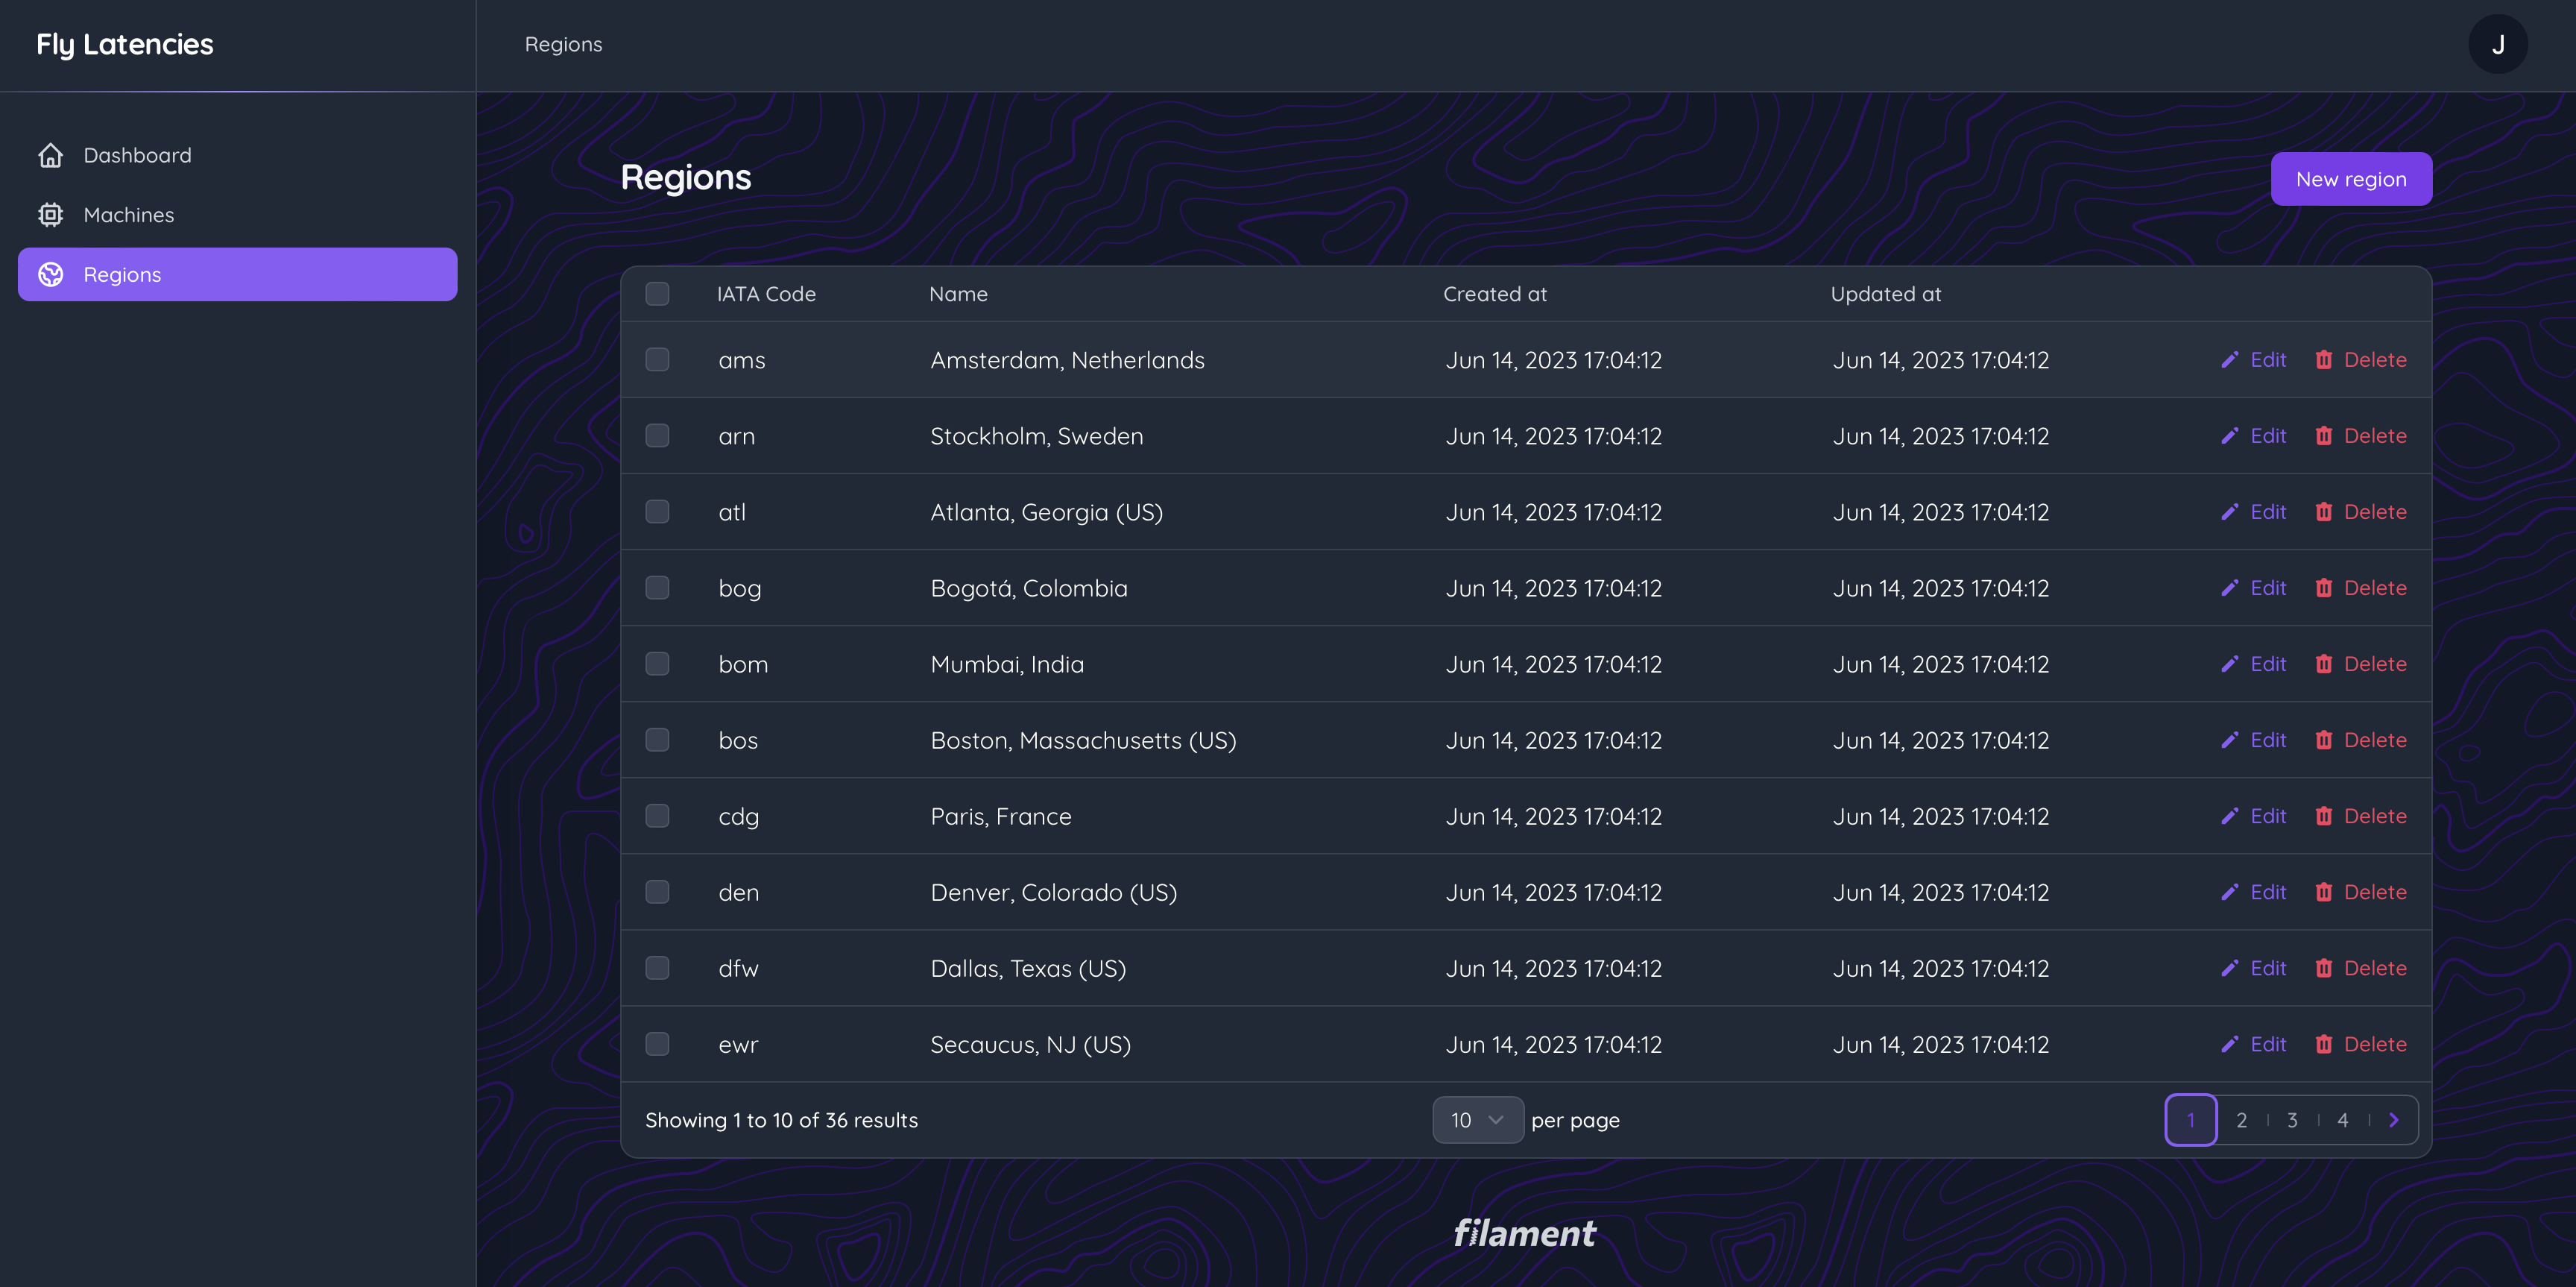
Notice the subtle background pattern?
A splash of color
First easy change: Change the color theming!
I'll change the primary color from Filament-orange to a Fly.io-violet. This uses themes, so we'll need to install some tailwind stuff with npm first: npm install tailwindcss @tailwindcss/forms @tailwindcss/typography autoprefixer tippy.js --save-dev . Once that's done, create a tailwind.config.js file by running npx tailwindcss init. In there, we can set it up like this:
/** @type {import('tailwindcss').Config} */

const colors = require('tailwindcss/colors')

module.exports = {
    content: [
        './resources/**/*.blade.php',
        './vendor/filament/**/*.blade.php'
    ],
    theme: {
        extend: {
            colors: {
                danger: colors.rose,
                primary: colors.violet,
                success: colors.emerald,
                warning: colors.amber,
            },
        },
    },
    plugins: [
        require('@tailwindcss/forms'),
        require('@tailwindcss/typography'),
    ],
}
Then, add this to the boot() method of a service provider. I'd suggest creating a FilamentServiceProvider to group all the Filament stuff together.
Filament::serving(function () {
    Filament::registerViteTheme('resources/css/filament.css');
});
After that we'll need to add the filament.css file to vite.config.js:
// vite.config.js
laravel({
    input: [
        'resources/css/app.css',
        'resources/js/app.js',
+       'resources/css/filament.css'
        ],
    refresh: true,
}),
Create postcss.config.js in your project root and add the following:
export default {
    plugins: {
        tailwindcss: {},
        autoprefixer: {},
    },
}
And finally, create a resources/css/filament.css file and import Filament's vendor css:
@import '../../vendor/filament/filament/resources/css/app.css';
If we reload our app, we'll see that all the colors have been modified! Now, let's change the fonts.
Font-astic choice!
The font you use always plays a huge part in the look and feel of the application. I'll use Quicksand which is a nice rounded sans-serif font.
First up we'll need to publish the Filament configuration: php artisan vendor:publish --tag=filament-config. After that we can change the google fonts link in config/filament.php:
'google_fonts' => 'https://fonts.googleapis.com/css2?family=Quicksand:wght@400;500;700&display=swap',
Then you can add the fonts to the theme in tailwind.config.js:
theme: {
    extend: {
        colors: {
            danger: colors.rose,
            primary: colors.violet,
            success: colors.emerald,
            warning: colors.amber,
        },
+       fontFamily: {
+           sans: ['"Quicksand"', 'sans-serif'],
+       }
    },
},
Reload the page and boom: New font, new me!
Dark Mode
We can enable dark mode by setting dark_mode to true in config/filament.php . This is the file we published when changing the fonts. When dark mode is enabled, a setting on the user menu will appear to toggle between light and dark mode. Right now, it probably doesn't do much. Make sure npm run dev is running and then it should work.
Right now, we've done some pretty basic stuff that's all very point-and-click. Let's get out of the kiddie pool and add a background pattern to the main section of each page, like this:
Background patterns
For the background pattern, all we need to do is override the Base view component and add a pattern to it. Easy peasy!
Ok, maybe let's rewind a little. Let's pretend to create a custom Filament page to show you how the blade component discovery works. We'd use php artisan make:filament-page demo which would create a demo.blade.php page along with a Demo php class. The blade file would look like this:
<x-filament::page>

</x-filament::page>
So how does the blade engine know where to find x-filament::blade? This is an example of component namespaces. The laravel docs explain it briefly here: https://laravel.com/docs/10.x/blade#manually-registering-package-components
Filament doesn't exactly use the componentNamespace method in a service provider, but the concept is exactly the same: By providing a namespace and a prefix, the Blade knows what directory to look in when a certain prefix is used. This is what it would look like for the Filament package:
Blade::componentNamespace('Filament//views//components', 'filament')
So, whenever <x-filament::component> is used, the Blade engine will look in vendor/filament/filament/resources/view/components/ for a component.blade.php file. But before it does that, the Blade engine will check in your app's resources/views folder if it can find the blade component there. This means that if we create our own files in a certain directory, the Blade engine will use our files instead of those in the vendor folder!
So to override Filament's Base component, create a base.blade.php file in the resources/views/vendor/filament/components/layouts folder. For clarity, this is what it would be used like: <x-filament::components.layouts.base>.
Then, just copy over everything from the base component in Filament's vendor folder. Then, find the opening tag of the html body, it should be on line 108. We'll add a custom tailwind class in there called bg-topography-pattern :
<body
    @class([
        'filament-body min-h-screen overflow-y-auto bg-gray-100 fill-cyan-500 bg-topography-pattern text-gray-900',
        'dark:bg-gray-900 dark:text-gray-100' => config('filament.dark_mode'),
    ])
>
The topography pattern is a pattern I've downloaded from https://heropatterns.com using the 'download unstyled svg' button. Make sure to put the svg file in your public/images folder.
The default svg will have black lines which is not really vibing with the 'subtle background pattern' feeling I'm looking for. So, on the <path> tag I changed the fill from #000 to #f3e8ff which corresponds to purple-200 in tailwind country.
Lastly, we can add a custom tailwind class in our theme to set the svg as the background image. Just extend the theme, like this:
theme: {
    extend: {
        colors: {
            danger: colors.rose,
            primary: colors.violet,
            success: colors.emerald,
            warning: colors.amber,
        },
        fontFamily: {
            sans: ['"Quicksand"', 'sans-serif'],
        },
+       backgroundImage: {
+           'topography-pattern': "url(/public/images/topography.svg)"
+       }
    },
},
This makes a new tailwind class bg-topography-pattern available, which is the one we used in the base component. Right now, your app should have a nice pattern on the background of every page!
On dark mode this pattern will still show up with a very light purple fill. Not a great look. To fix it you can create a dark version of the svg by changing the fill color, adding a dark custom tailwind class and then using that class with the dark: filter on the base component. Fixed!
Other articles you might like
 June 13th 2026
Building a Production MCP Server in Laravel
Spec version notice: This article targets MCP specification version 2025-11-25. The protocol has sh...
 May 30th 2026
Evals in Laravel: How to Prove Your AI Output Is Actually Good
You shipped the ticket classifier last quarter. It works. The tests are green and they've stayed gre...
 April 28th 2026
Event sourcing with a little help from AI
Event sourcing in Laravel gives you a complete history of your domain, but the hardest part isn't wr...


The Laravel portal for problem solving, knowledge sharing and community building.