
Craft emails with Vue and Tailwind using Inertia Mailable
Photo by Getty Images on Unsplash
How to easily build dynamic email templates while keeping your Vue and Tailwind tools using the Inertia Mailable package.

A sample Laravel project can be found on this Github Repository. Find out more on Capsules or X.
Inertia Mailable is a package that allows you to design amazing emails within a Laravel project by leveraging the power of InertiaJS. Create interactive and responsive email designs by building VueJS components, enhancing them with TailwindCSS, and integrating them into your mailables.
This package is in alpha phase and is under continuous development. It was created to simplify email layout while maintaining the same approach as for the rest of the web platform. An email template could thus correspond to a page template.
This article provides an example of how to use the Inertia Mailable package. It follows the scenario of a user signing up on the platform and receiving a welcome email. Starting from a Laravel VILT project, a Mailable will be configured with its default Markdown email template. This will then be transferred to a VueJS component with TailwindCSS classes added. The steps are as follows:
First, you need to create the Mailable file by using the Artisan command: php artisan make:mail. Add the --markdown option to generate the Markdown template simultaneously.
php artisan make:mail WelcomeNewUser --markdown=mail.welcome
The Mailable would then look like this :
app\Mail\WelcomeNewUser.php
<?php

namespace App\Mail;

use Illuminate\Bus\Queueable;
use Illuminate\Mail\Mailable;
use Illuminate\Mail\Mailables\Content;
use Illuminate\Mail\Mailables\Envelope;
use Illuminate\Queue\SerializesModels;

class WelcomeNewUser extends Mailable
{
    use Queueable, SerializesModels;

    public function __construct()
    {
    }

    public function envelope() : Envelope
    {
        return new Envelope( subject : 'Welcome New User' );
    }

    public function content() : Content
    {
        return new Content( markdown : 'mail.welcome' );
    }

    public function attachments() : array
    {
        return [];
    }
}
The envelope section handles the subject, recipient, and sender of the email. The content section corresponds to the body of the message, which is directed to a Blade file in Markdown format located in the resources/views/mail folder.
resources/views/mail/welcome.blade.php
<x-mail::message>
# Introduction

The body of your message.

<x-mail::button :url="''">
Button Text
</x-mail::button>

Thanks,<br>
{{ config('app.name') }}
</x-mail::message>
This Blade file contains two Blade components, x-mail::message and x-mail::button. These components are integral parts of the Laravel framework. Here is an example of what the x-mail::button Blade component looks like:
vendor/laravel/framework/src/Illuminate/Mail/resources/views/html/button/blade.php
@props([
    'url',
    'color' => 'primary',
    'align' => 'center',
])
<table class="action" align="{{ $align }}" width="100%" cellpadding="0" cellspacing="0" role="presentation">
<tr>
<td align="{{ $align }}">
<table width="100%" border="0" cellpadding="0" cellspacing="0" role="presentation">
<tr>
<td align="{{ $align }}">
<table border="0" cellpadding="0" cellspacing="0" role="presentation">
<tr>
<td>
<a href="{{ $url }}" class="button button-{{ $color }}" target="_blank" rel="noopener">{{ $slot }}</a>
</td>
</tr>
</table>
</td>
</tr>
</table>
</td>
</tr>
</table>
To quickly preview the email template, you need to create a route.
routes/web.php
<?php

use Illuminate\Support\Facades\Route;
use App\Mail\WelcomeNewUser;

Route::get( '/', fn() => ( new WelcomeNewUser() )->render() );

Since the customization of this template is limited, you need to publish the components to access more options. A series of files will then appear in the resources/views/vendor/mail folder.
php artisan vendor:publish --tag=laravel-mail
The Blade components will appear in the html folder, while the default.css file will be located in the themes folder.
It is now time to install the Inertia Mailable package.
composer require capsulescodes/inertia-mailable
The next step is to publish the javascript or typescript file that will manage Vue components via InertiaJS.
// Javascript

php artisan vendor:publish --tag=inertia-mailable-vue-js

// Typescript

php artisan vendor:publish --tag=inertia-mailable-vue-ts
   INFO  Publishing [inertia-mailable-vue-js] assets.

  Copying file [/vendor/inertia-mailable/stubs/js/vue/mail.js] to [resources/js/mail.js] ........ DONE
  Copying file [/vendor/inertia-mailable/stubs/js/vue/mails/Welcome.vue] to [resources/js/mails/Welcome.vue]  DONE
Next, you need to add the newly created javascript or typescriptfile to the vite.config.js file under the ssr category. Since these Vue components are generated server-side, they need to be compiled and stored in a folder that is not accessible to visitors.
vite.config.js
import { defineConfig } from 'vite';
import laravel from 'laravel-vite-plugin';
import vue from '@vitejs/plugin-vue';

export default defineConfig( {
    plugins : [
        laravel( {
            input : [ 'resources/css/app.css', 'resources/js/app.js' ],
            ssr : [ 'resources/js/mail.js' ],
            refresh : true,
        }),
        vue(),
    ],
    resolve : { alias : { '~': '/resources/js' } }
});
For this article, a new ssr script is added to the package.json file. This script transpiles the necessary files and stores them in the bootstrap/ssr folder. This script will be particularly important later in the article.
package.json
{
    "type": "module",
    "scripts": {
        "dev": "vite",
        "build": "vite build",
        "ssr": "vite build --ssr"
    },
    "devDependencies": {
        "autoprefixer": "^10.4.20",
        "laravel-vite-plugin": "^1.0",
        "postcss": "^8.4.41",
        "tailwindcss": "^3.4.10",
        "vite": "^5.0"
    },
    "dependencies": {
        "@inertiajs/vue3": "^1.2.0",
        "@vitejs/plugin-vue": "^5.1.2",
        "vue": "^3.4.38"
    }
}
And modify the previously created Mailable : WelcomeNewUser.
app\Mail\WelcomeNewUser
<?php

namespace App\Mail;

use Illuminate\Bus\Queueable;
- use Illuminate\Mail\Mailable;
+ use CapsulesCodes\InertiaMailable\Mail\Mailable;
- use Illuminate\Mail\Mailables\Content;
+ use CapsulesCodes\InertiaMailable\Mail\Mailables\Content;
use Illuminate\Mail\Mailables\Envelope;
use Illuminate\Queue\SerializesModels;

class WelcomeNewUser extends Mailable
{
    use Queueable, SerializesModels;

    public function __construct()
    {
    }

    public function envelope() : Envelope
    {
        return new Envelope( subject : 'Welcome New User' );
    }

    public function content() : Content
    {
-       return new Content( markdown : 'mail.welcome' );
+       return new Content( view : 'Welcome', props : [ 'name' => 'Capsules Codes' ] );
    }

    public function attachments() : array
    {
        return [];
    }
}
- To inject data into the Vue component, we now use the
propskeyword, as opposed towith, which is used for data injection in Blade layouts.
It's time to preview the result. First, run npm run ssr.
If an error of this type Error: proc_open(): posix_spawn() failed: No such file or directory appears, it means that Node.js could not be found. You will then need to specify its path in a .env variable : NODE_PATH.
> ssr
> vite build --ssr

vite v5.4.2 building SSR bundle for production...
✓ 10 modules transformed.
bootstrap/ssr/ssr-manifest.json   0.81 kB
bootstrap/ssr/mail.js            13.65 kB
✓ built in 112ms
?
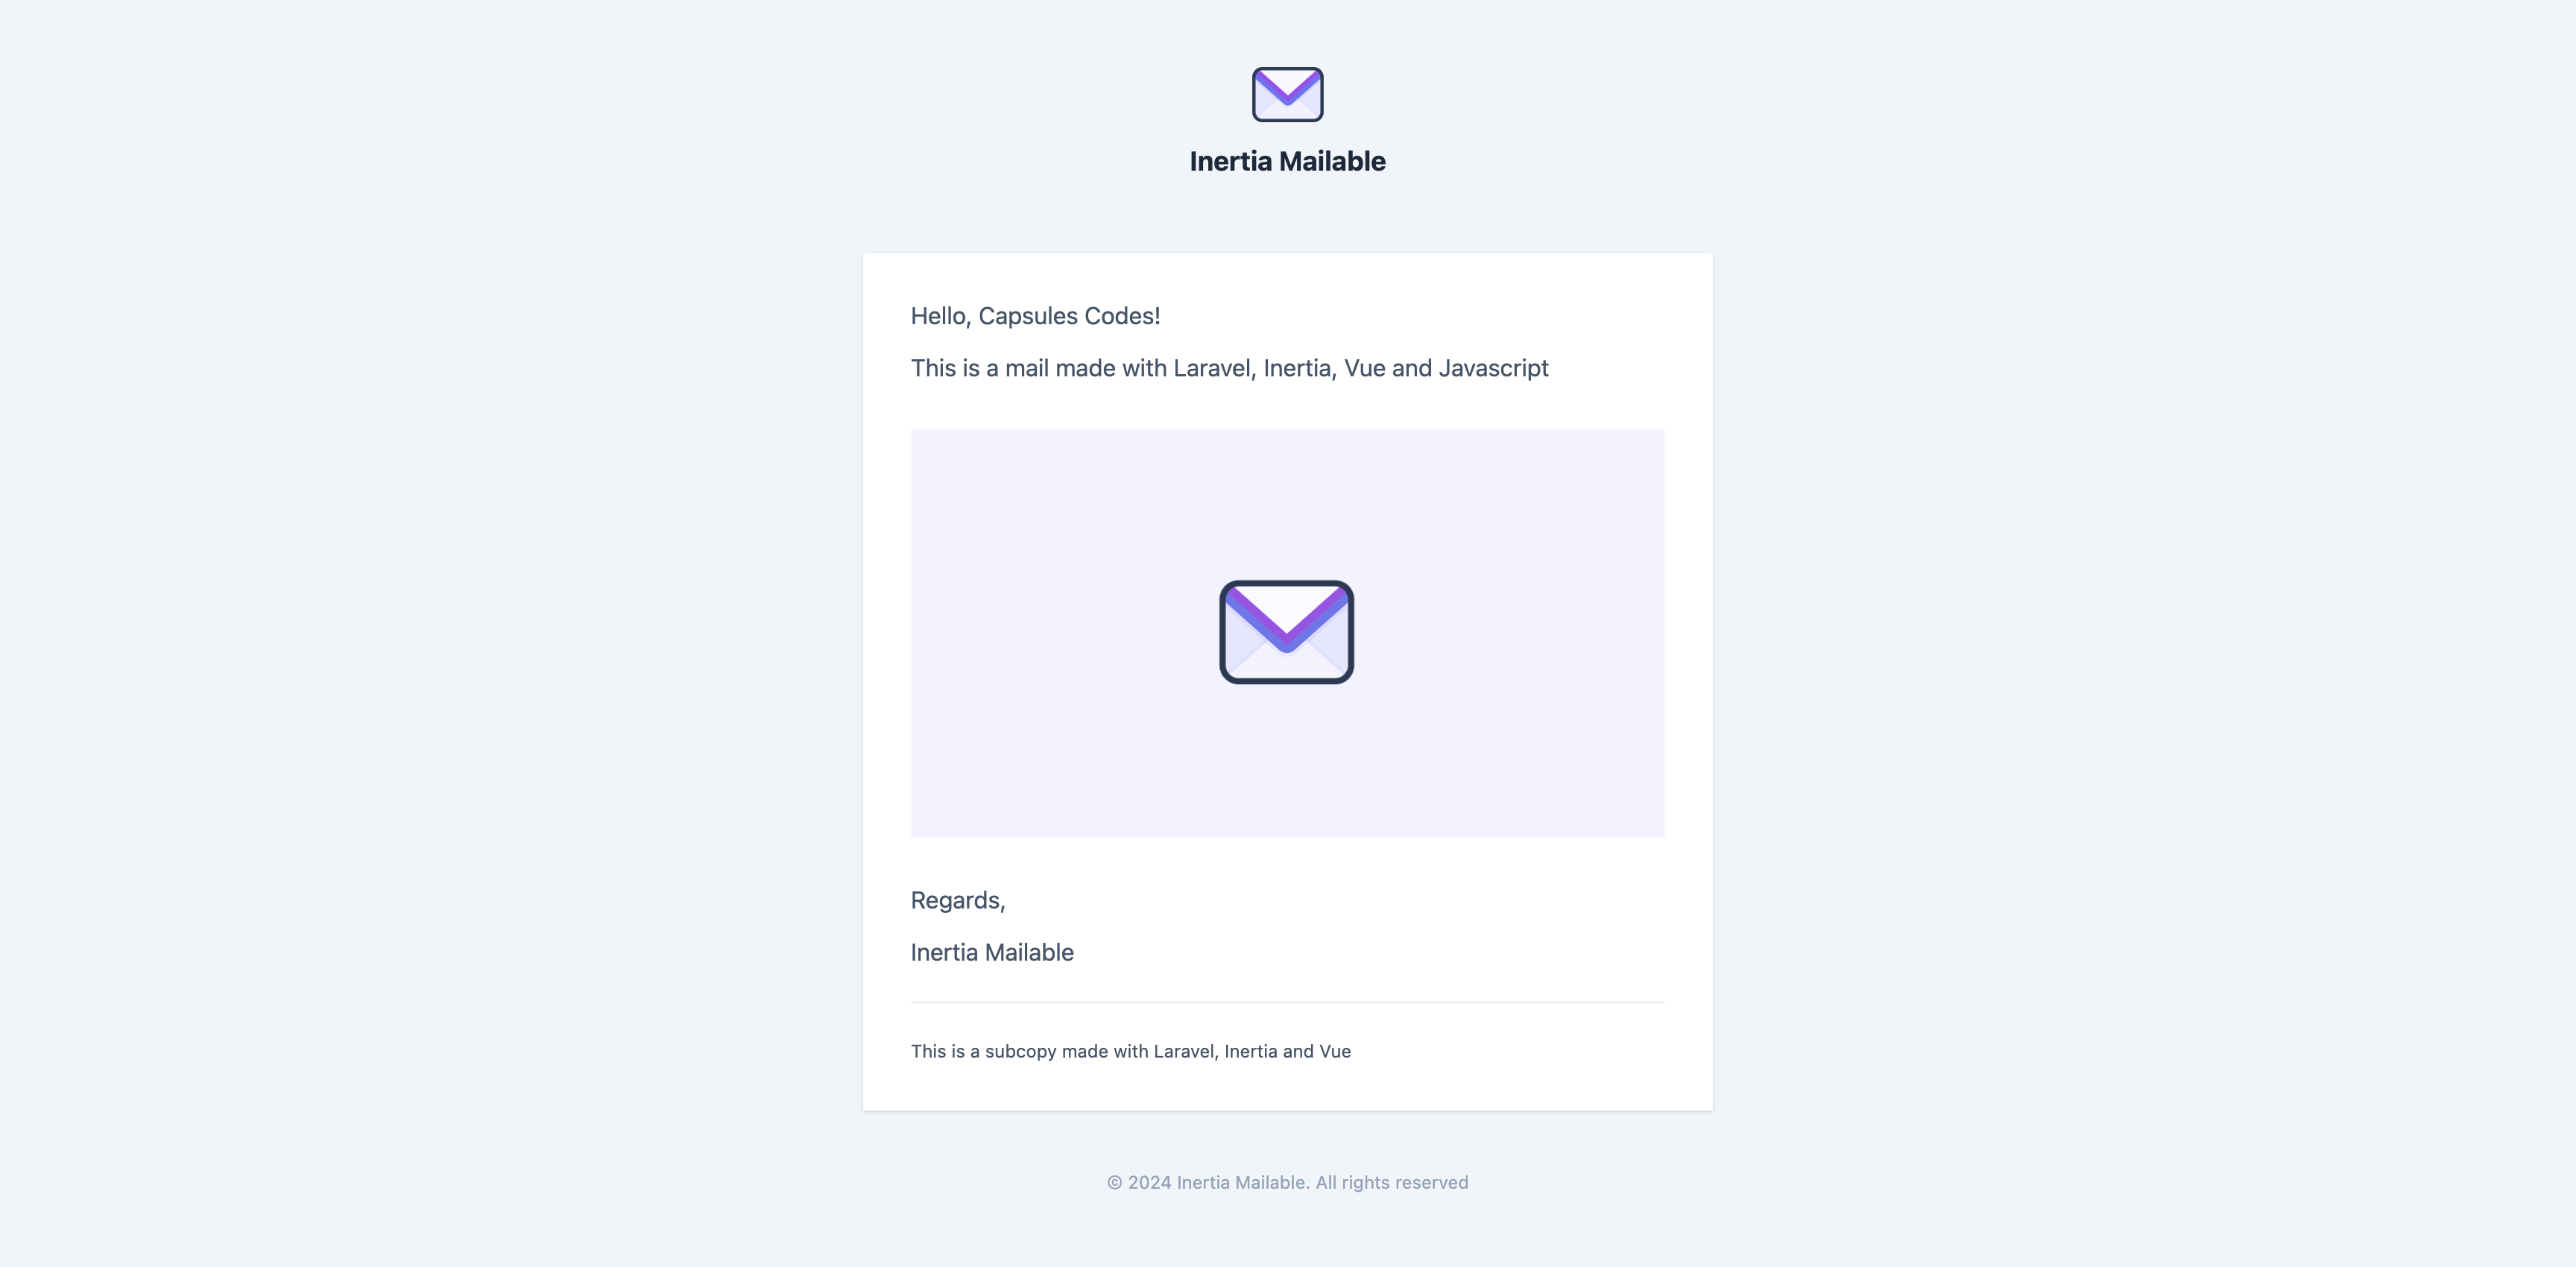
All that’s left is to customize the email from the Vue component.
resources/js/mails/Welcome.vue
<script setup>
import Layout from '/vendor/capsulescodes/inertia-mailable/components/vue/Layout.vue';
import Table from '/vendor/capsulescodes/inertia-mailable/components/vue/tags/Table.vue';
const props = defineProps( { name : { type : String, required : true } } );
const app = import.meta.env.VITE_APP_NAME;
const image = 'https://raw.githubusercontent.com/capsulescodes/inertia-mailable/main/art/capsules-inertia-mailable-mail-image.png';
</script>
<template>
<Layout>
<template v-slot:default>
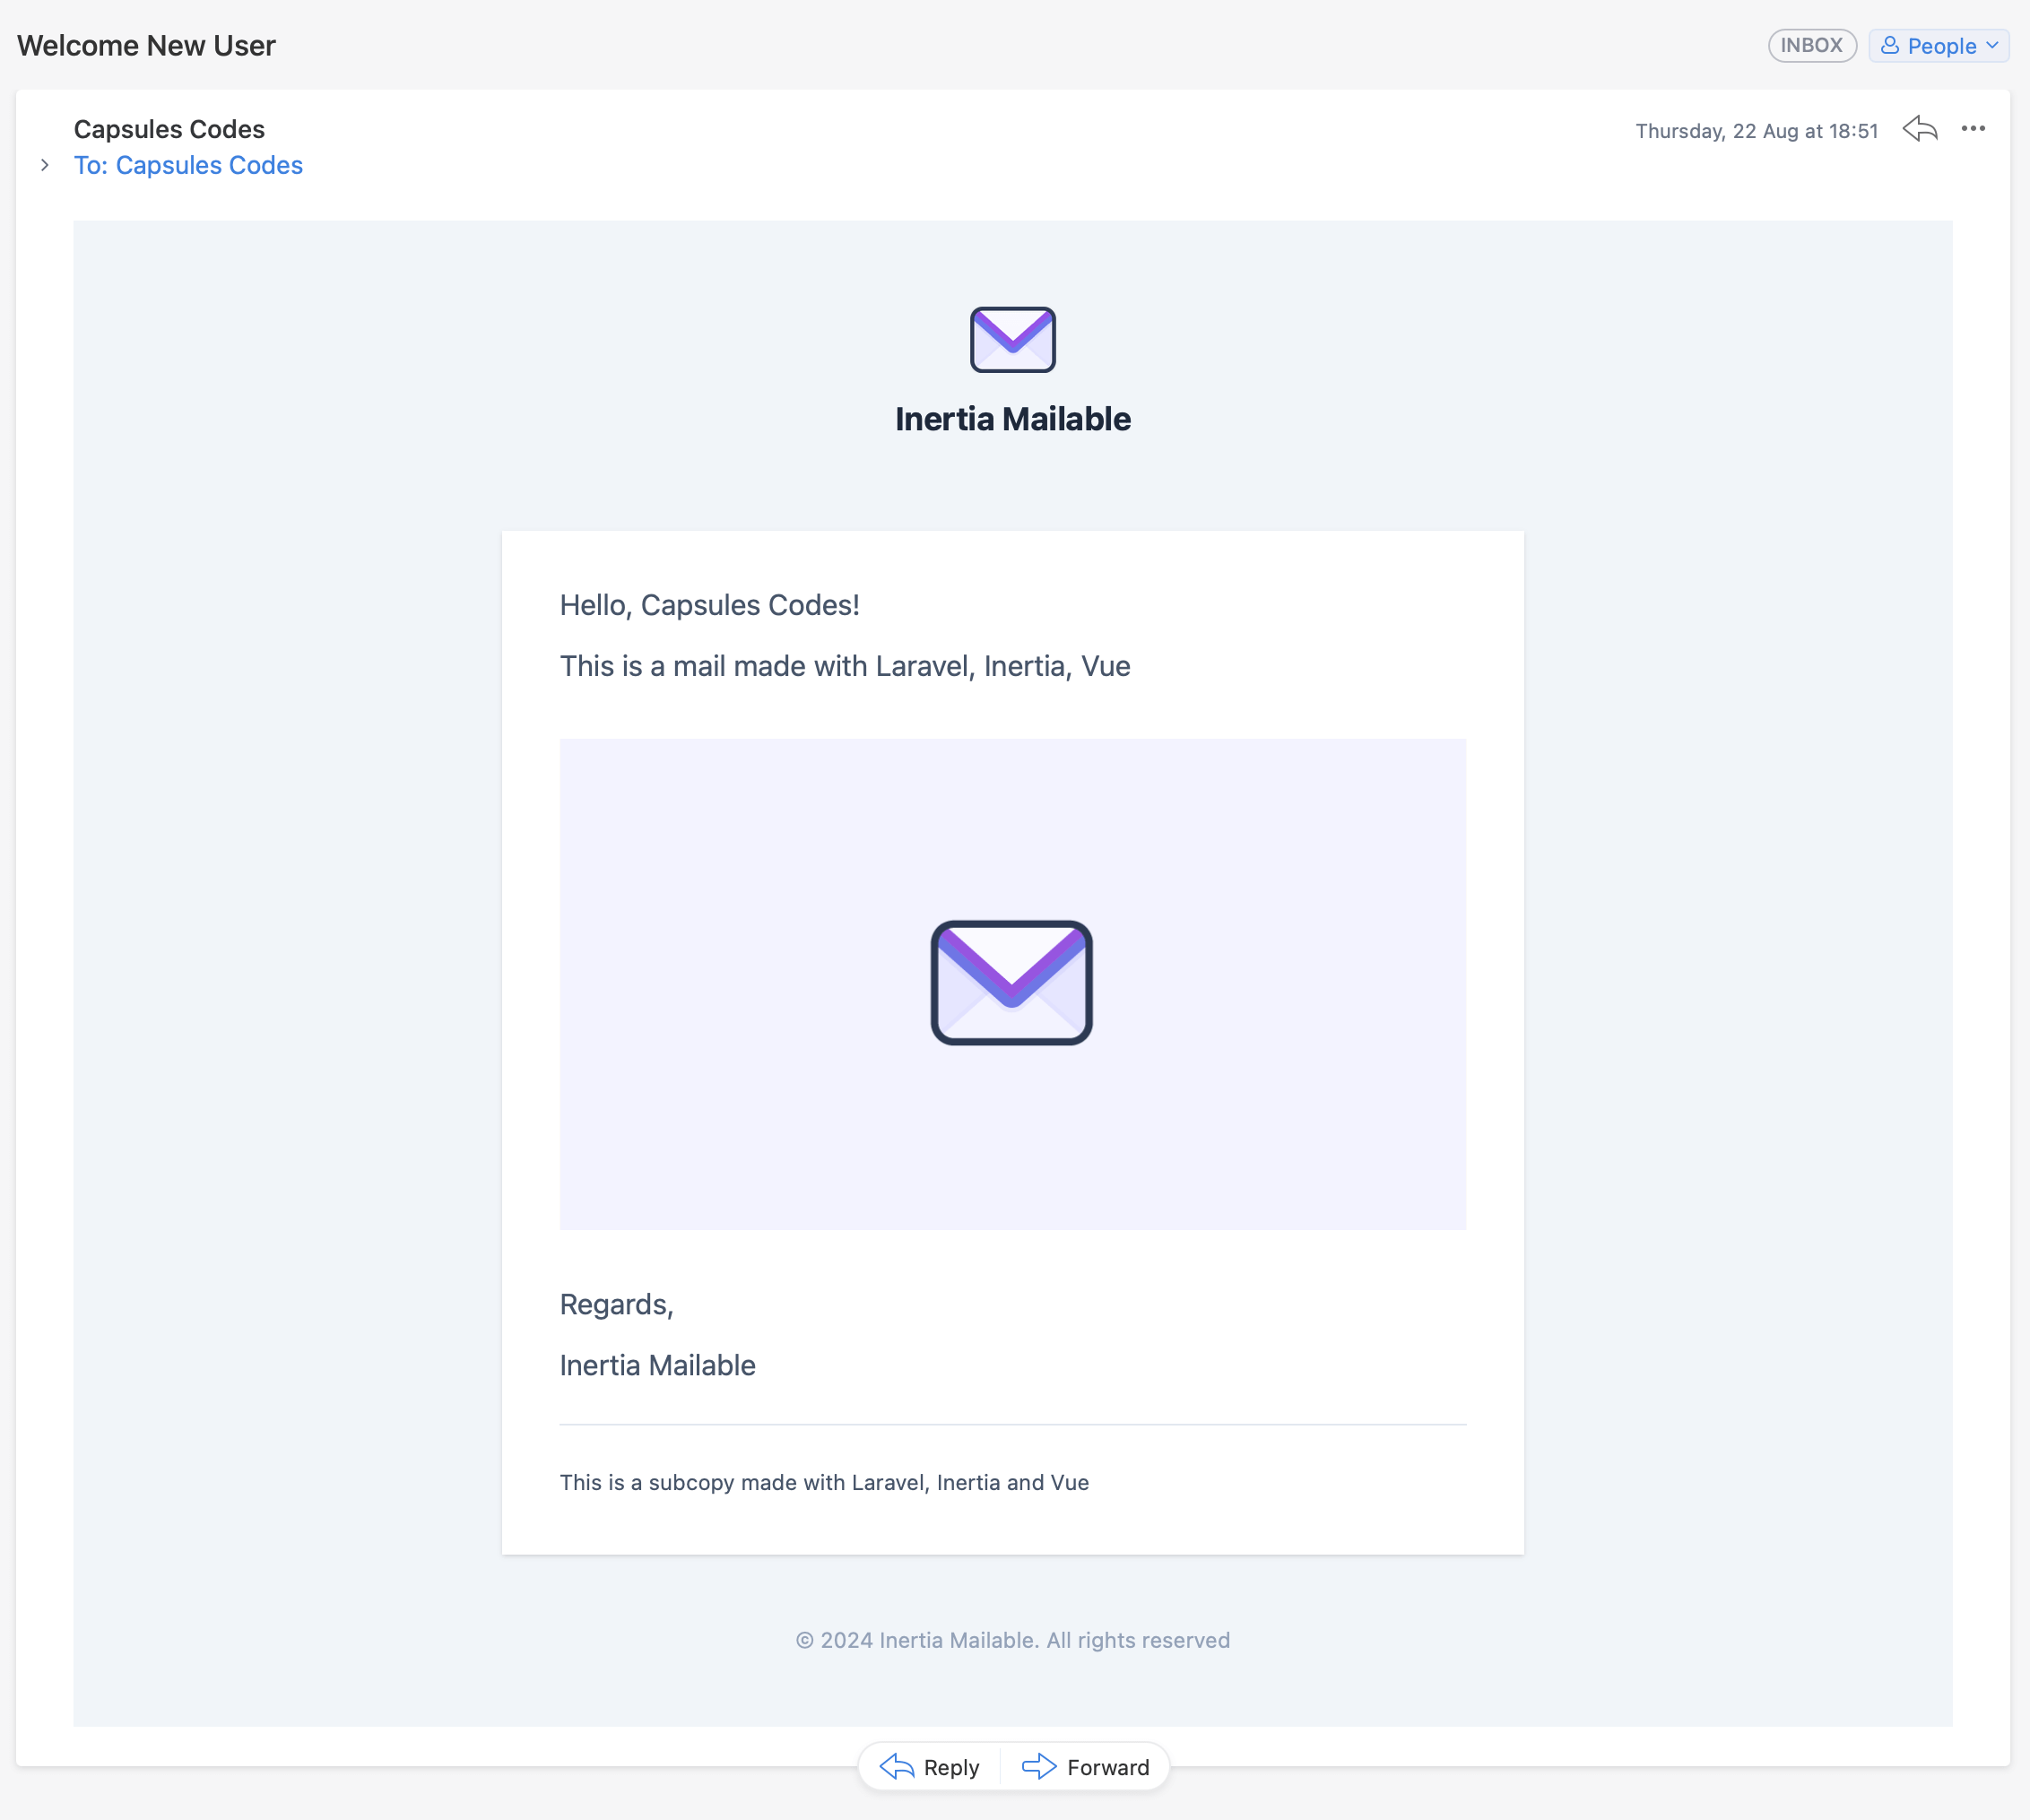
<p>Hello, {{ props.name }}!</p>
<p>This is a mail made with Laravel, Inertia, Vue</p>
<Table align="center">
<Table align="center">
<Table>
<img class="my-4 max-w-full" v-bind:src="image">
</Table>
</Table>
</Table>
<p>Regards,</p>
<p>{{ app }}</p>
</template>
<template v-slot:subcopy>
<p class="text-xs">This is a subcopy made with Laravel, Inertia and Vue</p>
</template>
</Layout>
</template>
- For clarity, adding an alias in the
vite.config.jsfile allows you to avoid importing components from their absolute path./vendor/capsulescodes/inertia-mailable/components/vuewould then become@/vue."
And, as a cherry on top, you can avoid transpiling the files with every change by using the --watch option. However, you will need to refresh the browser to view the changes.
"ssr": "vite build --ssr --watch"
To send the email, add a send route and configure the .env variables related to the Mailer.
routes/web.php
use Illuminate\Support\Facades\Route;
use Illuminate\Support\Facades\Mail;
use App\Mail\WelcomeNewUser;

Route::get( '/send', function(){ Mail::to( 'example@example.com' )->send( new WelcomeNewUser() ); } );
.env
MAIL_MAILER=log
MAIL_HOST=127.0.0.1
MAIL_PORT=2525
MAIL_USERNAME=null
MAIL_PASSWORD=null
MAIL_ENCRYPTION=null
MAIL_FROM_ADDRESS="hello@example.com"
MAIL_FROM_NAME="${APP_NAME}"
Glad this helped.
Other articles you might like
 July 28th 2026
The `clamp` Function in PHP 8.6
Introduction The clamp function is a new addition (RFC) to PHP 8.6 (to be released in November 2026)...
 June 13th 2026
Building a Production MCP Server in Laravel
Spec version notice: This article targets MCP specification version 2025-11-25. The protocol has sh...
 May 30th 2026
Evals in Laravel: How to Prove Your AI Output Is Actually Good
You shipped the ticket classifier last quarter. It works. The tests are green and they've stayed gre...


The Laravel portal for problem solving, knowledge sharing and community building.