
Organize Laravel tools on a unique subdomain
Photo by Eric Prouzet on Unsplash
How to organize maintenance tools like Laravel Pulse and Laravel Telescope on a subdomain in a Laravel project.
A sample Laravel project can be found on this Github Repository. Find out more on Capsules or X.
With the numerous tools provided by the Laravel framework, such as Telescope or more recently Pulse, it has become essential to centralize them on a single dashboard. Here's how to group these tools on a dedicated subdomain.
Initially, only one route is configured in our clean Laravel project.
routes/web.php
<?php

use Illuminate\Support\Facades\Route;
use Inertia\Inertia;


Route::get( '/', fn() => Inertia::render( 'Welcome' ) );
Creating a subdomain that centralizes the desired tools requires just a few lines in the web.php file. For this article, it is essential to add additional environment variables in the .env file and in the configuration files before proceeding further.
.env
APP_DOMAIN=article.test
APP_URL=http://${APP_DOMAIN}
TOOLS_DOMAIN=tools.${APP_DOMAIN}
Similarly, this involves changes in associated configuration files, such as app.php, and the creation of a new configuration file called tools.php.
config/app.php
...
    /*
    |--------------------------------------------------------------------------
    | Application Domain
    |--------------------------------------------------------------------------
    |
    | This value is the domain of your application. This value is used when the
    | framework needs to access the domain in routes.
    |
    */

    'domain' => env('APP_DOMAIN'),
...
config/tools.php
<?php

return [

    /*
    |--------------------------------------------------------------------------
    | Tools Domain
    |--------------------------------------------------------------------------
    |
    | This value is the domain of your tools. This value is used when the
    | framework needs to access the domain in routes.
    |
    */

    'domain' => env('TOOLS_DOMAIN'),
];
Now it's time to configure the routes associated with these changes.
routes/web.php
<?php

use Illuminate\Support\Facades\Route;
use Inertia\Inertia;


Route::domain( config( 'tools.domain' ) )->group( function()
{
    Route::get( '/', fn() => Inertia::render( 'Tools' ) )->name( 'tools' );
});

Route::domain( config( 'app.domain' ) )->group( function()
{
    Route::get( '/', fn() => Inertia::render( 'App' ) )->name( 'app' );
});
The command php artisan route:list provides an overview of the created routes, allowing you to check if everything appears to be in order.
php artisan route:list

GET|HEAD   tools.article.test/ ....................... tools
GET|HEAD   article.test/ ............................... app
...
To display the routes, it is necessary to create a page dedicated to the general domain and another for the subdomain tools. By copying the default page with a slight modification of the title, it will be possible to distinguish the two pages. The default page is as follows:
<script setup>

import logotype from '/public/assets/capsules-logotype-red-blue-home.svg';

</script>

<template>

    <div class="w-full min-h-screen flex flex-col font-sans text-primary-black">

        <div class="grow mx-8 lg:mx-auto max-w-screen-lg overflow-auto flex flex-col items-center justify-center text-center">

            <img class="w-24 h-24 select-none" v-bind:src="logotype">

            <h1 class="mt-4 text-6xl font-bold select-none header-mode" v-text="'Capsules Codes'" />

        </div>

    </div>

</template>
resources/js/pages/App.Vue
...
<h1 class="mt-4 text-6xl font-bold select-none header-mode" v-text="'Capsules Codes'" />

<h2 class="mt-4 text-4xl font-bold select-none header-mode" v-text="'Application'" />
...
resources/js/pages/Tools.vue
...
<h1 class="mt-4 text-6xl font-bold select-none header-mode" v-text="'Capsules Codes'" />

<h2 class="mt-4 text-4xl font-bold select-none header-mode" v-text="'Tools'" />
...
Now that access to the subdomain is established, it's necessary to create a menu displaying various tabs before implementing the tools. This menu can be positioned on the extreme left with buttons for Pulse and Horizon, while the content would be on the right.
resources/js/pages/Tools.vue
<script setup>

import { Link } from '@inertiajs/vue3';

import logotype from '/public/assets/capsules-logotype-red-blue.svg';
import pulse from '/public/assets/tools/pulse.svg';
import telescope from '/public/assets/tools/telescope.svg';


const props = defineProps( { service : { type : String } } );

</script>

<template>

    <div class="w-full h-screen flex">

        <div class="p-4 h-full bg-white">

            <div class="space-y-8">

                <img class="h-8 w-8" v-bind:src="logotype">

                <div class="flex flex-col space-y-1">

                    <Link class="py-2 rounded-md" v-bind:class=" props.service === 'pulse' ? 'bg-slate-100' : 'hover:bg-slate-50' " href="/pulse" v-bind:replace="true" as="button"><img class="mx-2 h-4 w-4" v-bind:src="pulse"></link>

                    <Link class="py-2 rounded-md" v-bind:class=" props.service === 'telescope' ? 'bg-slate-100' : 'hover:bg-slate-50' " href="/telescope" v-bind:replace="true" as="button"><img class="mx-2 h-4 w-4" v-bind:src="telescope"></link>
                </div>

            </div>

        </div>

        <div class="grow overflow-auto">

            <div class="h-full flex">

                <div class="w-full flex flex-col items-center justify-center">

                    <img class="w-24 h-24 select-none" v-bind:src="logotype">

                    <h1 class="mt-4 text-6xl font-bold select-none header-mode" v-text="'Capsules Codes'" />

                    <h2 class="mt-4 text-4xl font-bold select-none header-mode" v-text=" props.service ? props.service : 'Tools'" />

                </div>

            </div>

        </div>

    </div>

</template>
Two links, in the form of Link components, are now available to access different tools. Currently, the page displays a "Tools" home screen when no service is loaded.
It is necessary to implement two routes in the web.php file as well as in the ToolsController.php controller to activate our tools.
routes/web.php
use App\Http\Controllers\ToolsController;


Route::domain( config( 'tools.domain' ) )->group( function()
{
    Route::get( 'pulse', [ ToolsController::class, 'pulse' ] )->name( 'tools.pulse' );
    Route::get( 'telescope', [ ToolsController::class, 'telescope' ] )->name( 'tools.telescope' );

	Route::get( '{any}', fn() => redirect()->route( 'tools.pulse' ) )->where( 'any', '.*' );
});
Now, it's no longer necessary to maintain the route /. A redirection route has been set up to redirect to the tool of choice in case no URL matches.
app/Http/Controllers/ToolsController.php
<?php

namespace App\Http\Controllers;

use Inertia\Inertia;
use Inertia\Response;


class ToolsController extends Controller
{
    public function pulse() : Response
    {
        return Inertia::render( 'Tools', [ 'service' => 'pulse' ] );
    }

    public function telescope() : Response
    {
        return Inertia::render( 'Tools', [ 'service' => 'telescope' ] );
    }
}
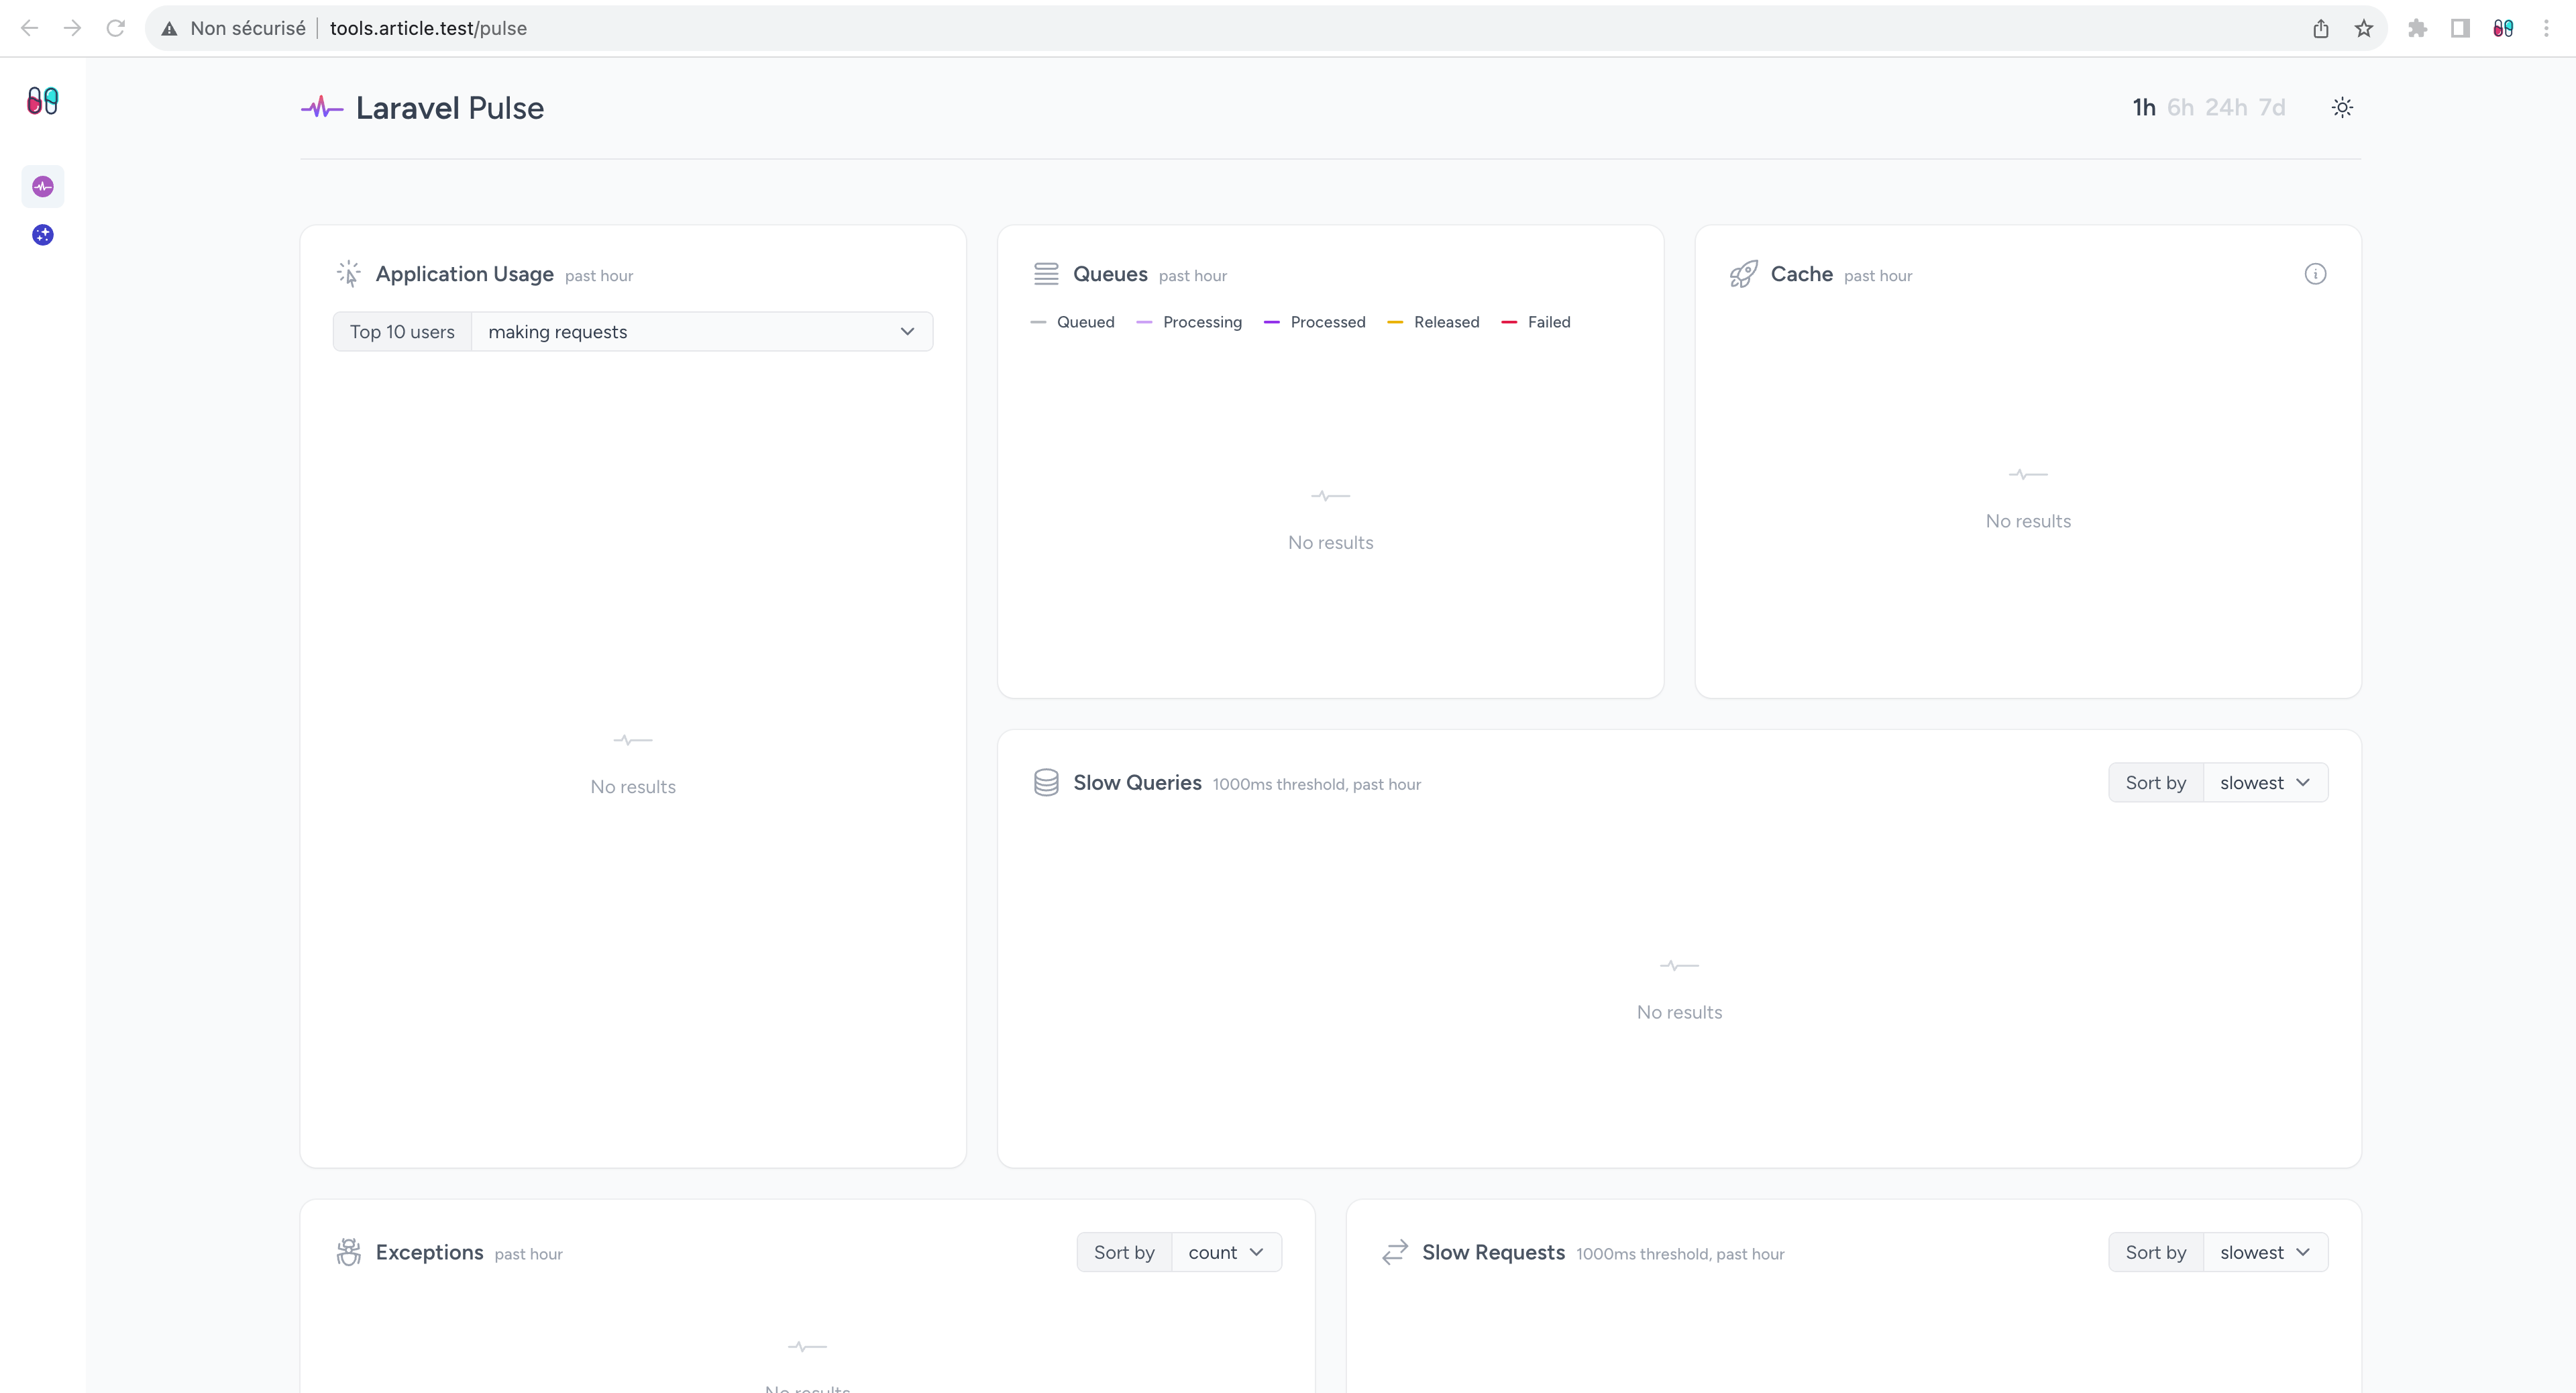
Now all that's left is to install Pulse et Telescope. For this, a database is required. The installation instructions are summarized below.
.env
DB_CONNECTION=mysql
DB_HOST=127.0.0.1
DB_PORT=3306
DB_DATABASE=tools
DB_USERNAME=root
DB_PASSWORD=
Laravel Pulse
> composer require laravel/pulse
> php artisan vendor:publish --provider="Laravel\\Pulse\\PulseServiceProvider"
> php artisan migrate
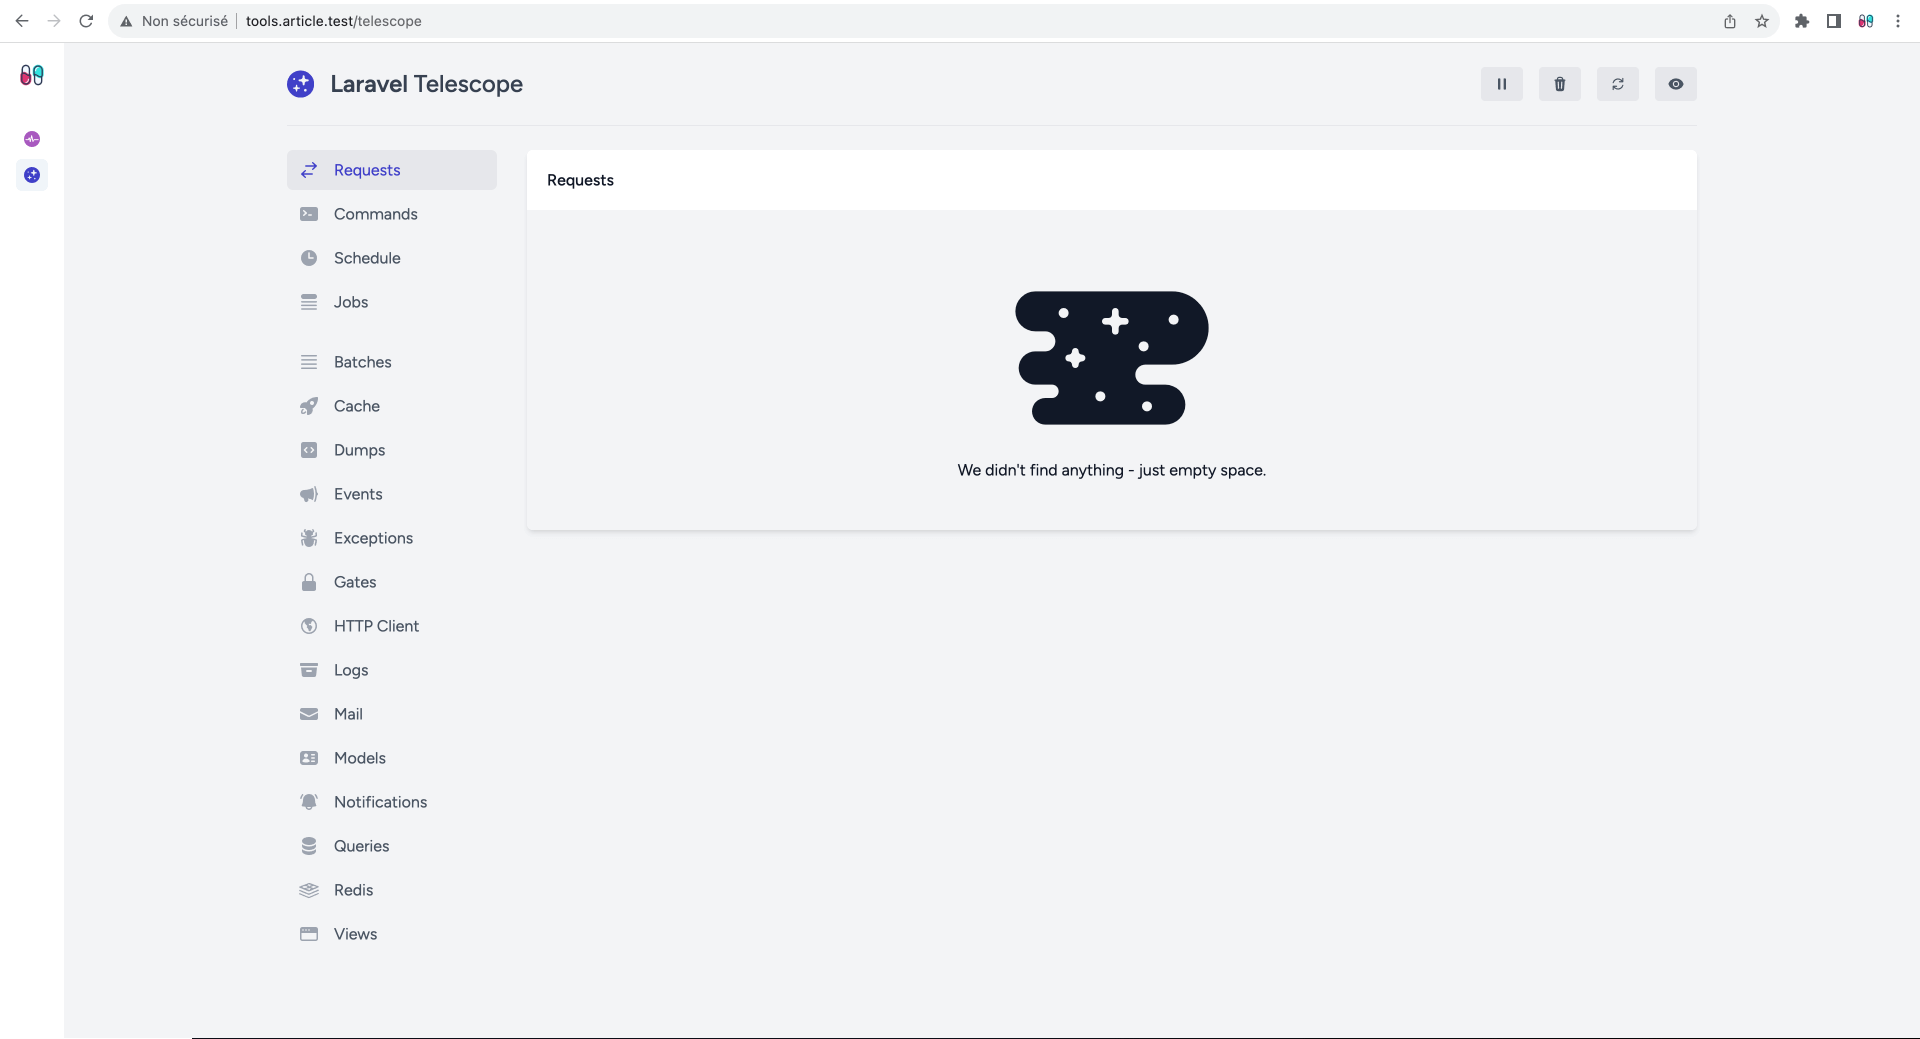
Laravel Telescope
> composer require laravel/telescope
> php artisan telescope:install
> php artisan migrate
Once these tools are installed, the paths /pulse and /telescope give direct access to the tools. Therefore, it's necessary to modify them, which can be done from their respective configuration files. You just need to update the paths in the .env file.
.env
PULSE_PATH=pulse-custom-path
TELESCOPE_PATH=telescope-custom-path
Now, it's necessary to inject the paths from the ToolsController into the Tools component. The latter will then load the <iframe> tag with the current URL.
app\Http\Controllers\ToolsController.php
<?php

namespace App\Http\Controllers;

use Inertia\Inertia;
use Inertia\Response;


class ToolsController extends Controller
{
    public function pulse() : Response
    {
        return Inertia::render( 'Tools', [ 'service' => 'pulse', 'url' => redirect()->to( config( 'pulse.path' ) )->getTargetUrl() ] );
    }

    public function telescope() : Response
    {
        return Inertia::render( 'Tools', [ 'service' => 'telescope', 'url' => redirect()->to( config( 'telescope.path' ) )->getTargetUrl() ] );
    }
}
resources/js/pages/Tools.vue
<script setup>

import { Link } from '@inertiajs/vue3';

import logotype from '/public/assets/capsules-logotype-red-blue.svg';
import pulse from '/public/assets/tools/pulse.svg';
import telescope from '/public/assets/tools/telescope.svg';


const props = defineProps( { service : { type : String, required : true }, url : { type : String, required : true } } );

</script>

<template>

    <div class="w-full h-screen flex">

        <div class="p-4 h-full bg-white">

            <div class="space-y-8">

                <img class="h-8 w-8" v-bind:src="logotype">

                <div class="flex flex-col space-y-1">

                    <Link class="py-2 rounded-md" v-bind:class=" props.service === 'pulse' ? 'bg-slate-100' : 'hover:bg-slate-50' " href="/pulse" v-bind:replace="true" as="button"><img class="mx-2 h-4 w-4" v-bind:src="pulse"></link>

                    <Link class="py-2 rounded-md" v-bind:class=" props.service === 'telescope' ? 'bg-slate-100' : 'hover:bg-slate-50' " href="/telescope" v-bind:replace="true" as="button"><img class="mx-2 h-4 w-4" v-bind:src="telescope"></link>
                </div>

            </div>

        </div>

        <div class="grow overflow-auto">

            <iframe class="w-full h-full" v-bind:src="props.url" />

        </div>

    </div>

</template>
The tools are now accessible through the side menu! ?
Glad this helped.
Other articles you might like
 June 13th 2026
Building a Production MCP Server in Laravel
Spec version notice: This article targets MCP specification version 2025-11-25. The protocol has sh...
 May 30th 2026
Evals in Laravel: How to Prove Your AI Output Is Actually Good
You shipped the ticket classifier last quarter. It works. The tests are green and they've stayed gre...
 April 28th 2026
Event sourcing with a little help from AI
Event sourcing in Laravel gives you a complete history of your domain, but the hardest part isn't wr...


The Laravel portal for problem solving, knowledge sharing and community building.