Create a Node package on your local Laravel environment
Photo by Getty Images on Unsplash
How to set up a local development environment to test your Node package classes or utilities in a local Laravel project.

You will find a link to a CodeSandbox Demo or the source code via this Github Repository. Learn more on Capsules or X.
It still shouldn't come as a surprise that we use hundreds of packages when developing web tools. To get them, you just need to shop around with a package manager like NPM, which had 2 633 573 packages as of January 2024.
If you're looking to develop your own package, it's completely legitimate to wonder how to test it under real conditions. Publishing the package on NPM during development isn't a good option. Another approach would be to integrate it into a blank project without using NPM. The method in this article is much closer to a real-world scenario but requires environment preparation.
Create a folder that will serve as the foundation for your package.
mkdir package
Create a package.json file, which serves as the essential foundation of the package.
package/package.json
{
    "name": "capsulescodes-package",
    "description": "Capsules Codes Package",
    "type": "module",
}
name:The name should be structured with the entity on the left and the package name on the right. It's strongly recommended to use a descriptive package name to make it easier for users to search.description: The package description should be clear and concise.type: Specifyingmoduleas the type allows loading JavaScript files as ES modules instead of CommonJS modules.
Additionally, running npm init in a folder that doesn't contain a package.json file will launch a wizard that guides you through the process of creating your package.json file.
Create a folder src inside the package folder.
cd package
mkdir src
- The arrangement of folders doesn't have much real significance, apart from their proximity, both for you and for this article.
Create a JavaScript class named Greeter containing a function greet that returns the phrase Hello world! .
package/src/Greeter.js
export default class Greeter
{
    static greet()
    {
        return 'Hello world!';
    }
}
Then, you need to specify which file the package should refer to, in this case, src/Greeter.js by default.
package/package.json
{
    ...
    "main" : "src/Greeter.js"
    ...
}
Now, it's possible to test this package. To do so, you need to create a testing environment using a Laravel project template.
Return to the parent directory of the package and create a Laravel project to serve as a testing template. A Laravel Vue Inertia Tailwind project is used as a template for this article.
cd ..
mkdir template
cd template
The package is ready to be installed.
Run the command npm install ../package at the root of the template project or specify the new local dependency in the package.json file.
template/package.json
{
    "dependencies": {
        "capsulescodes-package" : "file:../package"
    }
}
- The annotation
file:indicates that it's a path to a local folder. Changes made in thepackagefolder will take effect in thenode_modulesfolder of thetemplatefolder. npm uninstall capsulescodes-packageallows you to uninstall the local package.
Testing it via the terminal :
> node -e "import( 'capsulescodes-package' ).then( module => console.log( module.default.greet() ) );"

Hello world!
It is not common to run code directly via node, but -e or --eval allows you to evaluate the given argument.
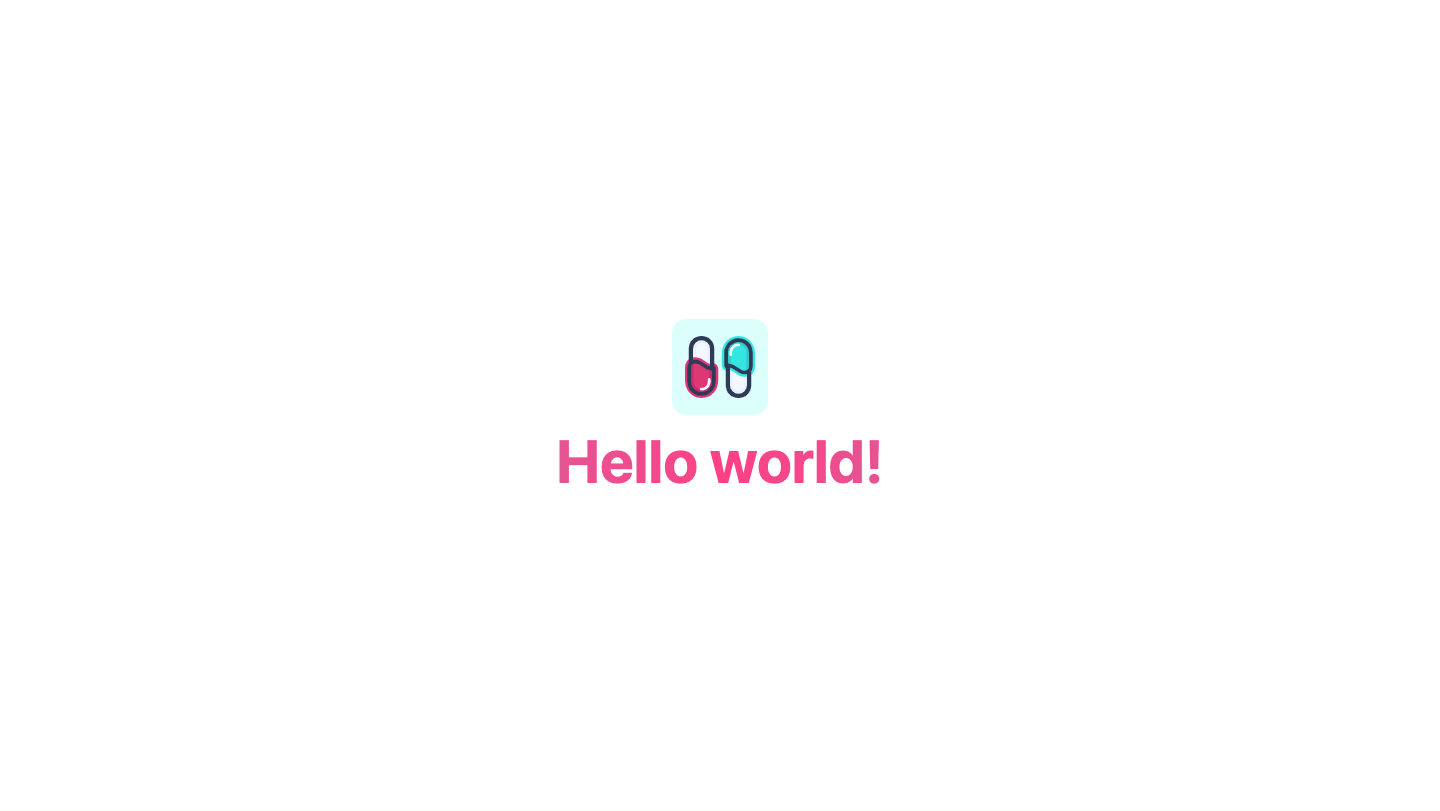
or modifying the Welcome.vue file to test the static Greeter class :
template/resources/js/pages/Welcome.vue
<script setup>

import Greeter from 'capsulescodes-package';

import logotype from '/public/assets/capsules-logotype.svg';

</script>

<template>

    <div class="w-screen h-screen flex flex-col items-center justify-center text-center">

        <img class="w-24 h-24" v-bind:src="logotype" v-bind:alt="'Capsules Codes Logotype'">

        <h1 class="mt-4 text-6xl font-bold select-none header-mode" v-text="Greeter.greet()" />

    </div>

</template>

The working environment is set up.
It would be interesting to add the additional method say() that takes a string as a parameter to test the tool in real time.
package/src/Greeter.js
export default class Greeter
{
		...

    static say( something )
    {
        return something;
    }
}
Testing it via the terminal :
> node -e "import( 'capsulescodes-package' ).then( module => console.log( module.default.say( 'That\'s a quick way to develop and test a package!' ) ) );"

That's a quick way to develop and test a package!
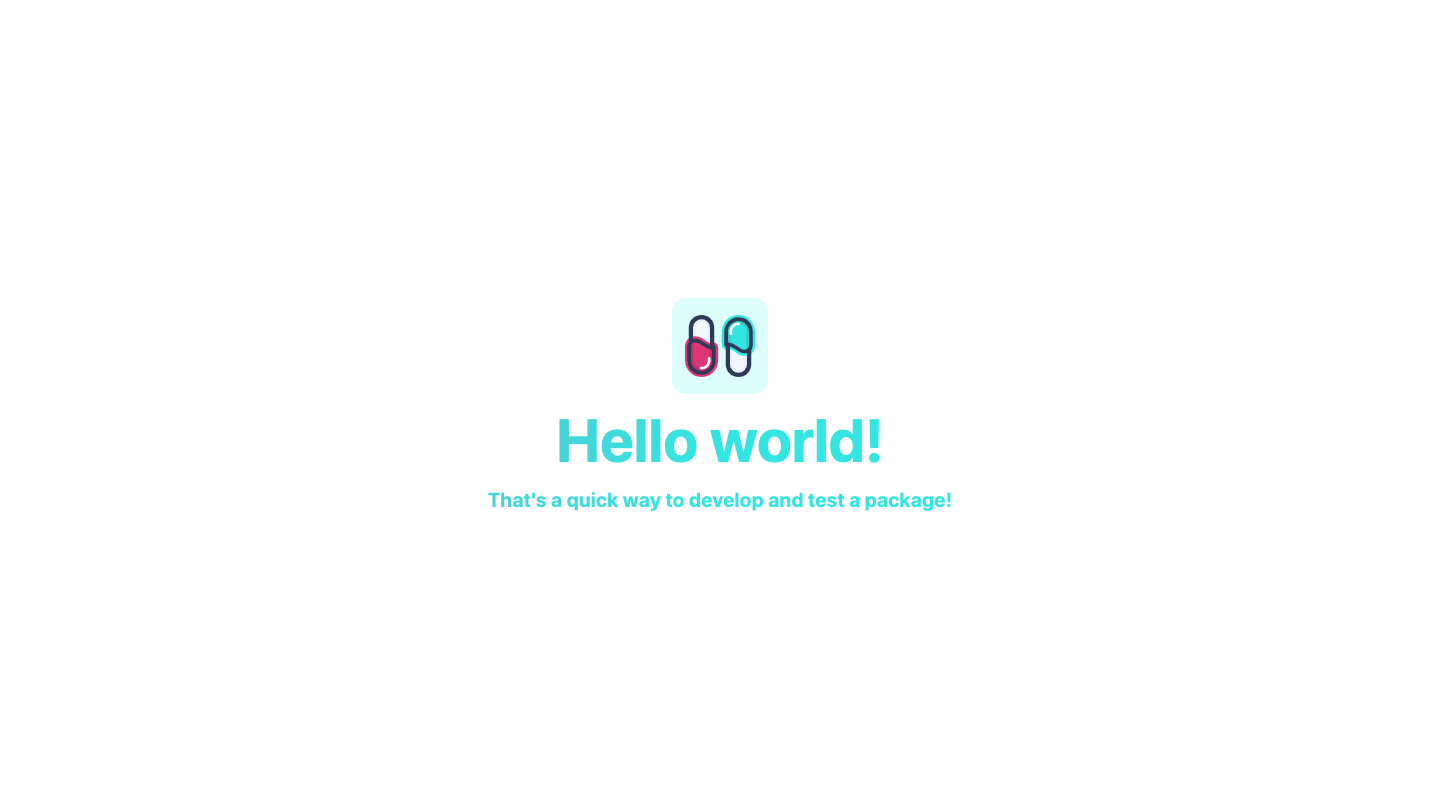
or modifying the Welcome.vue file to test the static Greeter class :
template/resources/js/pages/Welcome.vue
<script setup>

import logotype from '/public/assets/capsules-logotype.svg';

import Greeter from 'capsulescodes-package';

</script>

<template>

    <div class="w-screen h-screen flex flex-col items-center justify-center text-center">

        <img class="w-24 h-24" v-bind:src="logotype" v-bind:alt="'Capsules Codes Logotype'">

        <h1 class="mt-4 text-6xl font-bold select-none header-mode" v-text="Greeter.greet()" />

        <h2 class="mt-4 text-xl font-bold select-none header-mode" v-text="Greeter.say( 'That\'s a quick way to develop and test a package!' )" />

    </div>

</template>

At this stage, everything is ready to develop a simple Node package. However, in this article, the focus is on implementing a npm run greet command that will call the static Greeter class.
It's necessary to create the greet command at first. To do this, return to the package folder and create the Greet.js command in the Commands folder of the source directory src.
package/src/Commands/Greet.js
#!/usr/bin/env node

import Greeter from '../Greeter.js';

console.log( Greeter.greet() );
#!/usr/bin/env nodeindicate that it is a node executable.
To access this command in the template you can then run either :
node node_modules/capsulescodes-package/src/commands/greet.js
Or add a script in the package.json file that will achieve the same result :
template/package.json
"scripts": {
    ...
    "greet": "node node_modules/capsulescodes-package/src/commands/greet.js"
},
> npm run greet

> greet
> node node_modules/capsulescodes-package/src/commands/greet.js

Hello world!
All that’s left is to create the binary via package.json.
package/package.json
"bin": {
    "greet" : "src/Commands/Greet.js"
}
This property, upon installing the package, will copy the specified file src/Commands/Greet.js and paste it into the node_modules/.bin/ folder, renaming this file with the given key greet.
If, as in our case, our package is already installed, running yet another npm install ../package will restart the process.
You just need to add a new script to the package.json file or simply run the command npx greet [ where npx greet is equivalent to node node_modules/.bin/greet ].
template/package.json
"scripts": {
    "greet": "greet"
},
> npm run greet

> greet
> greet

Hello world!
> npx greet

Hello world!
For the case of the static method say and its parameter, a new command is needed.
package/src/Commands/Say.js
#!/usr/bin/env node

import Greeter from '../Greeter.js';

console.log( Greeter.say( process.argv[ 2 ] ) );
process.argvrepresents the arguments of the command, whereprocess.argv[0]containsnodeandprocess.argv[1]contains thenode_modules/.bin/saybinary in this case.
The command can be added to the list of binaries in the package.json file.
package/package.json
"bin": {
    "say" : "src/Commands/Say.js"
}
You just need to add a new script to the package.json file or simply run the command npx say "Capsules Codes".
template/package.json
"scripts": {
    ...
    "say": "say"
},
> npm run say "Capsules Codes"

> say
> say Capsules Codes

Capsules Codes
> npx say "Capsules Codes"

Capsules Codes
You want to publish this amazing package? One last small step is necessary: avoid publishing all the files in the project :
package/package.json
"files": [ "!*", "src" ]
!*indicates that it should exclude everything. Therefore, only thesrcfolder will remain to be kept.
npm publish
- This command requires being logged in to NPM via
npm login. It's necessary to specify theversionin thepackage.jsonfile when publishing.
Glad this helped.
Other articles you might like
 February 5th 2026
From 400-Line Import Controllers to 20-Line Configs in Laravel
The "Import Nightmares" We All Know If you've built business applications with Laravel, yo...
 February 4th 2026
How Big Tech Generates Initial-Based Avatars — And How You Can Do the Same in Laravel
If you’ve ever created an account on platforms like Google, GitHub, Slack, or Notion, you’ve seen it...
 January 24th 2026
Common Laravel Mistakes I See in Production (And How to Avoid Them)
Laravel makes it incredibly easy to build applications fast. But that same ease can lead to patterns...

The Laravel portal for problem solving, knowledge sharing and community building.


